How to Wire a Button to Arduino? Using Internal Pull-Up.

|
Written by Indrek Luuk
|
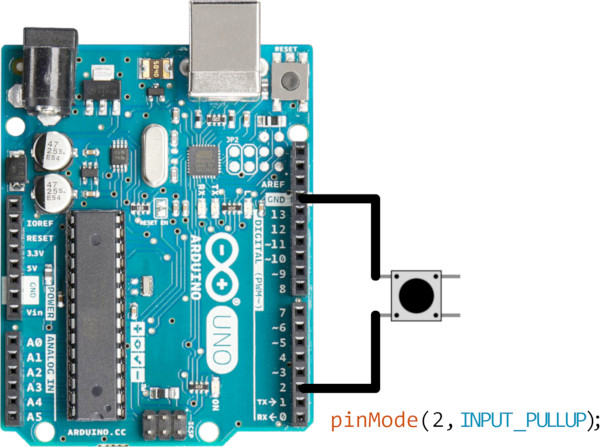
To add a push button or a switch to Arduino with relatively short wires you need
- two wires
- a button or a switch
-
to enable internal pull-up in code
pinMode(pinNumber, INPUT_PULLUP);
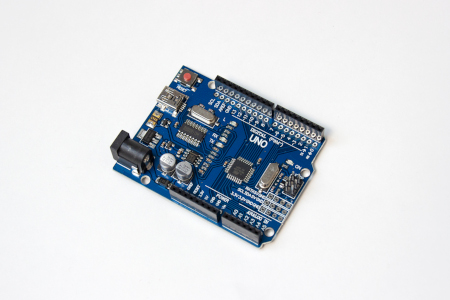
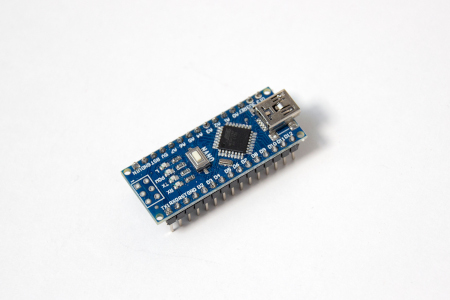
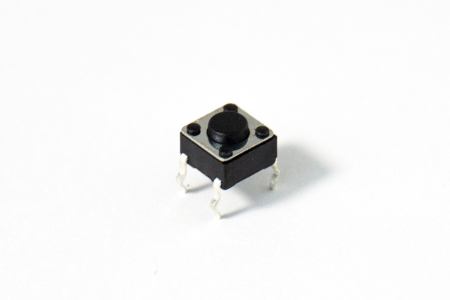
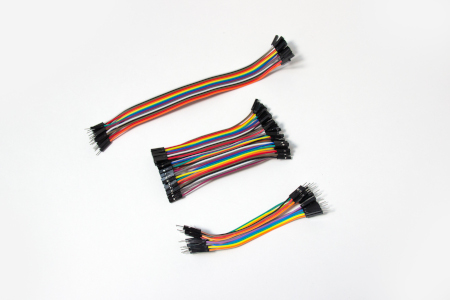
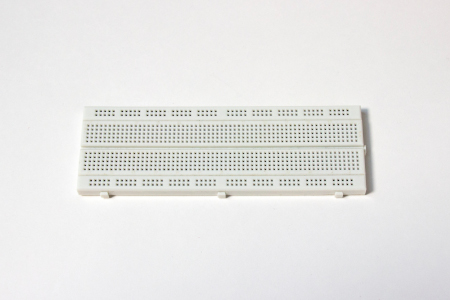
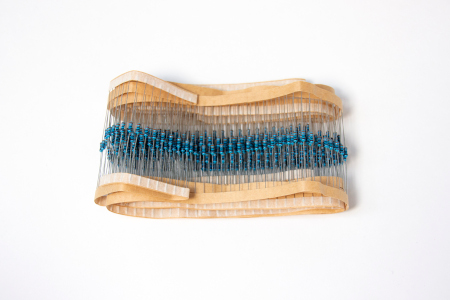
To follow this tutorial, you need:
Optionally, if you have long wires
Disclosure: Bear in mind that some of the links in this post are affiliate links and if you go through them to make a purchase I will earn a commission. Keep in mind that I link these companies and their products because of their quality and not because of the commission I receive from your purchases. The decision is yours, and whether or not you decide to buy something is completely up to you.
Most tutorials instruct you to use a pull-up or pull-down resistor, but for simple buttons and switches close to the Arduino board, this step is unnecessary. Each Arduino input PIN has an internal pull-up resistor that you can activate in the code.
void setup() {
    pinMode(2, INPUT_PULLUP);
}
Once you have properly initialized the input PIN in the setup function, you can get the button status with the digital read command.
void loop() {
  int pinValue = digitalRead(2);
}
By "close" I mean if the button is on the same breadboard with Arduino, then you don't have to worry about cable lengths. If wires get very long, then the internal pull-up might not be enough (more on that later).
Video Tutorial
I am performing the same experiments described later in the article. You can see what happens if pull-up is not activated and the effects of connecting your button to very long wires.
What Happens if Internal Pull-Up is not Activated?
pinMode(pinNumber, INPUT);
You can test it out yourself. I have written a simple Arduino program that reads PIN 2. If its value changes, then it is written to the serial port:
void setup() {
    Serial.begin(9600);
}

int buttonStatus = 0;
void loop() {
  int pinValue = digitalRead(2);
  delay(10); // quick and dirty debounce filter
  if (buttonStatus != pinValue) {
    buttonStatus = pinValue;
    Serial.println(buttonStatus);
  }
}
Open Serial Monitor in Arduino IDE. If you don't immediately see any input changes, try touching button wires. It should start spitting out zeroes and ones to the terminal even though you haven't pushed the button.
As soon as you have enabled internal pull-up in the setup of your program, the problem will go away.
The same code shown above can be used with
"pinMode(pinNumber, INPUT_PULLUP)"
added to the setup function:
void setup() {
    pinMode(2, INPUT_PULLUP);  // enable internal pull-up
    Serial.begin(9600);
}

int buttonStatus = 0;
void loop() {
  int pinValue = digitalRead(2);
  delay(10); // quick and dirty debounce filter
  if (buttonStatus != pinValue) {
    buttonStatus = pinValue;
    Serial.println(buttonStatus);
  }
}
Now touching the wires will not affect the digital read command. You will see status changes in the terminal window only if you push the button.
What Happens If Your Wires are Too Long?
Long wires act as antennas. Even if you have internal pull-up enabled, it has too high of a resistance to pull the signal up to 5V reliably.
If you have a wire piled up right in front of you, it might seem to work. But stretching the wire out across a room that has some electromagnetic noise will start generating phantom button readings even though you haven't pushed it.
void setup() {
    pinMode(2, INPUT_PULLUP);  // enable internal pull-up
    Serial.begin(9600);
}

int buttonStatus = 0;
void loop() {
  int pinValue = digitalRead(2);
  //delay(10); // quick and dirty debounce filter
  if (buttonStatus != pinValue) {
    buttonStatus = pinValue;
    Serial.println(buttonStatus);
  }
}
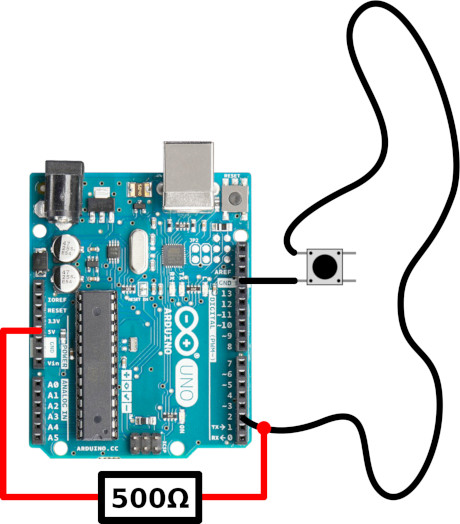
To fix this issue, I added two 1k external pull-up resistors to the long button wire. Essentially, it creates a 500-ohm resistor:

After this, it worked as expected in my experiment – only pressing the button caused a status change in the terminal window.
If your button wires are even longer and in an electromagnetically noisy environment, then you must start thinking about protecting your input PIN. The antenna effect might induce high voltage spikes in the wires. Generally, try to avoid using very long cables as these can impact your input signals.

